SanDisk
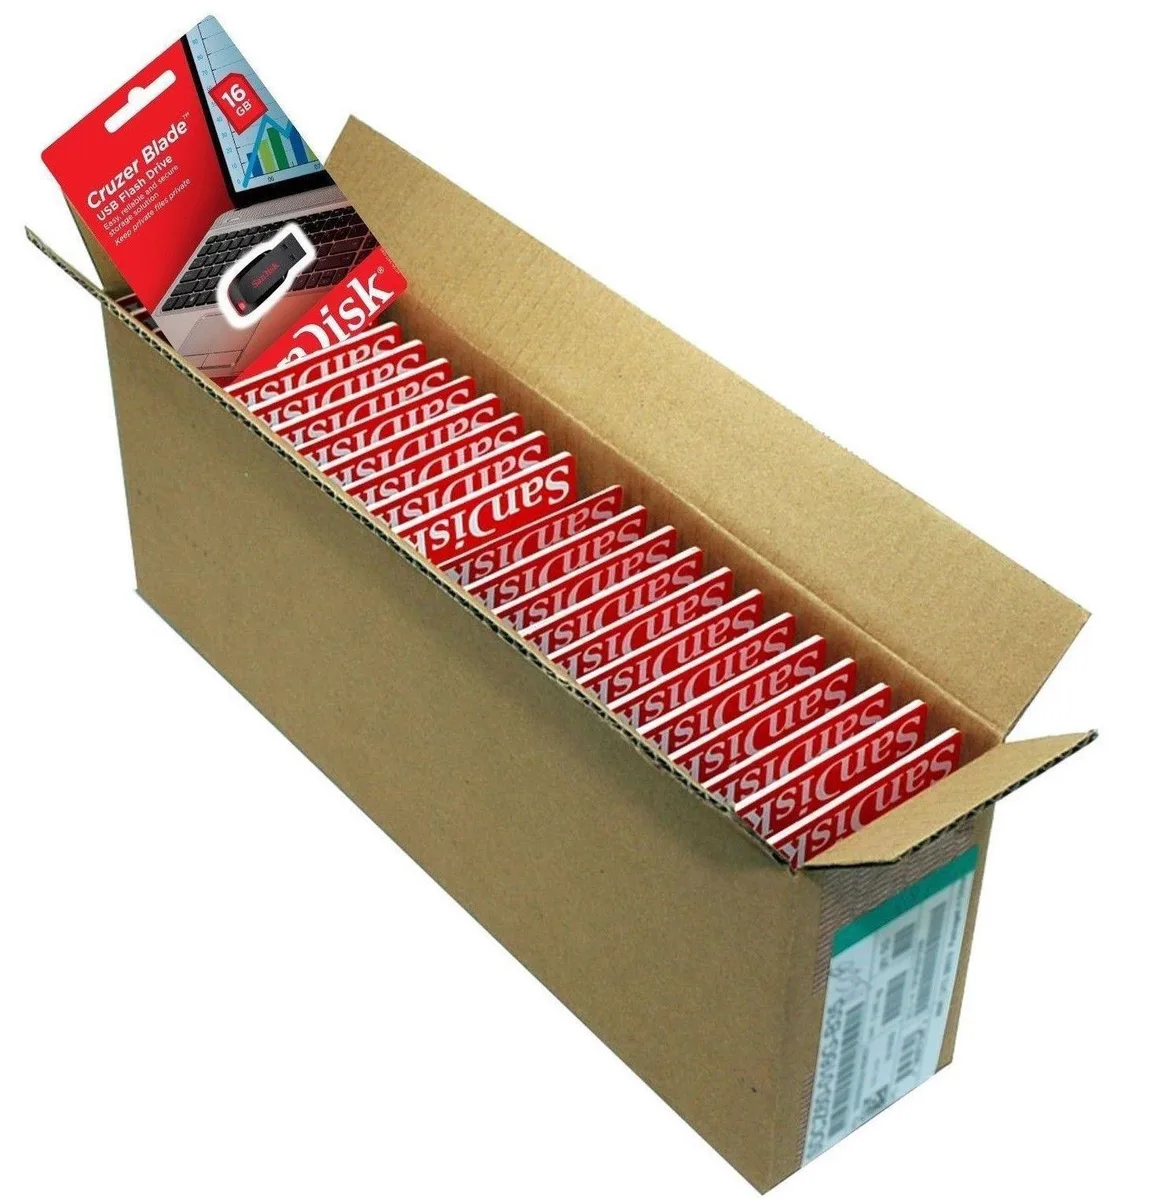
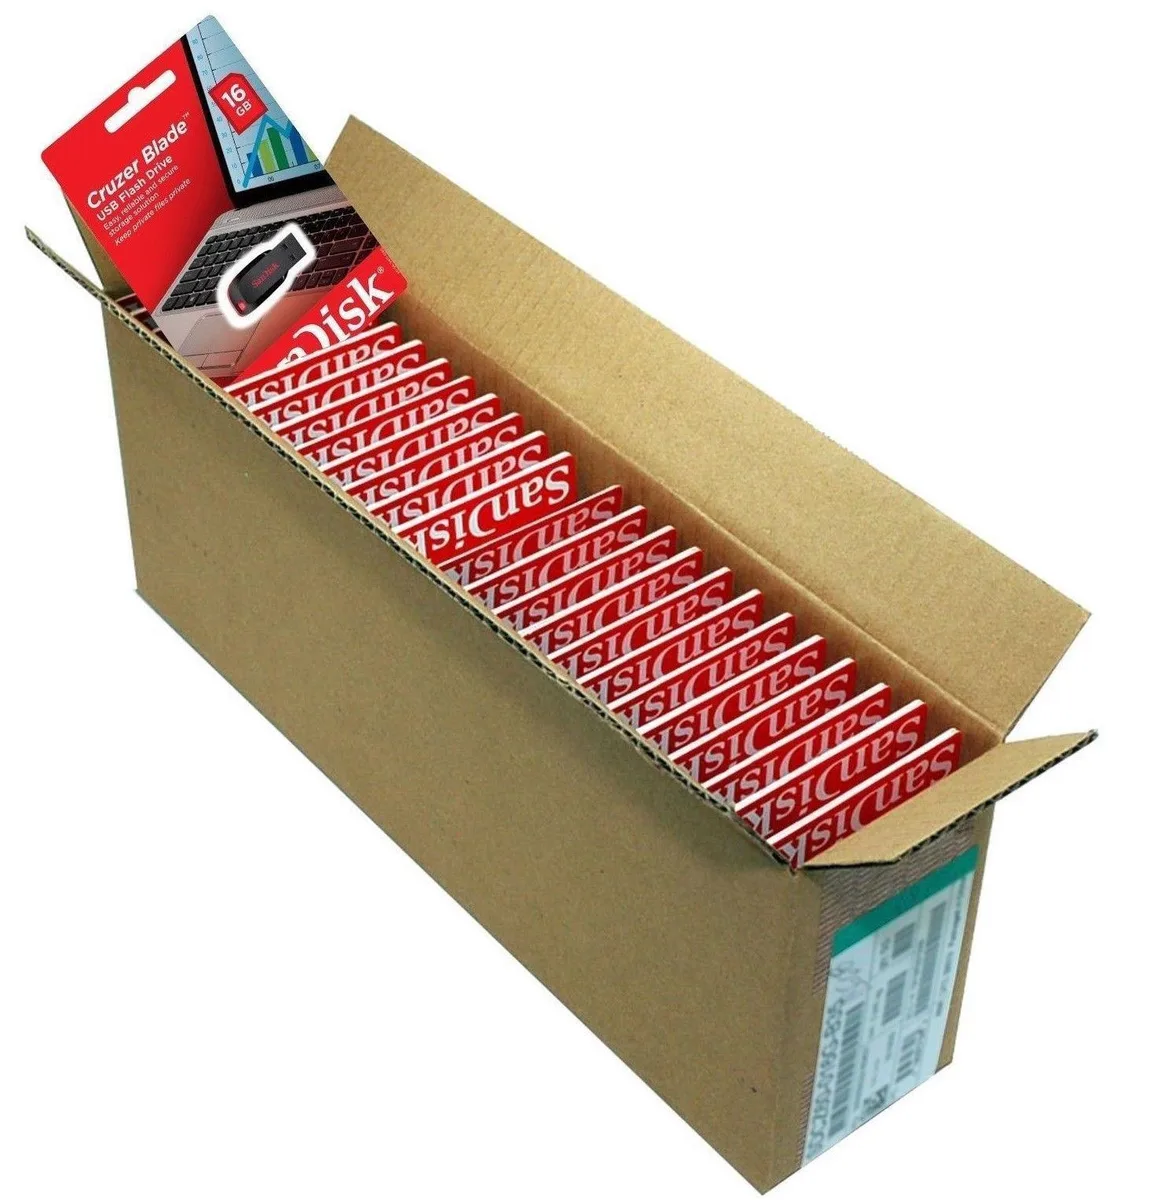
SanDisk Cruzer Blade 8 GB USB 2.0 USB flash drive Black SDCZ50-008G-B35
USD 391.99
0.00501067BTC
Ada stokKami menerima kripto — jadi koin yang anda simpan boleh membeli perkakasan sebenar.Bayar dengan kripto, belanjakannya untuk perkakasan sebenar. Penghantaran berinsurans percuma ke seluruh dunia untuk belian melebihi USD 399. Kotak biasa tanpa jenama, dihantar dari Jerman.Penghantaran berinsurans percuma untuk belian melebihi USD 399. Kadar anda dikunci selama 30 minit sebaik sahaja proses pesanan bermula.Kadar dikunci selama 30 minit. Setiap item disegel, nombor sirinya disemak, dan dilindungi waranti 24 bulan.Disegel, waranti 24 bulan.


And 1
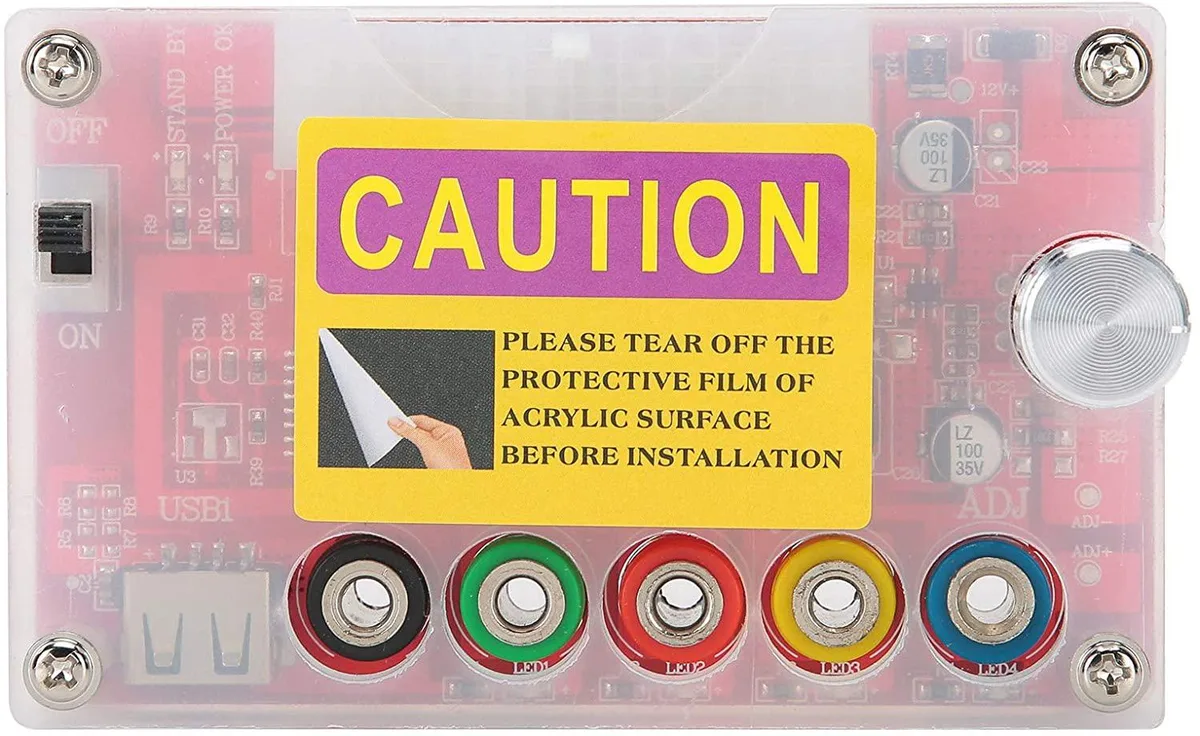
Converts an ATX 20/24-pin supply into 3.3 V, 5 V, 12 V and adjustable 1.8–10.8 V outputs via screw terminals and includes a red acrylic enclosure
This red breakout board plugs into a standard ATX 20/24Pin connector and provides screw terminals for 3.3V, 5V, 12V and an adjustable 1.8V to 10.8V rail. An acrylic enclosure kit is included for bench protection and tidy wiring.
Makers powering Raspberry Pi, Tinker Board, STM32 modules, 9V or 12V motors, LED strips or vehicle accessories under 24W will find the labelled outputs convenient. Builders needing higher current rails, multiple isolated outputs or a form factor smaller than 99 x 60mm should consider other solutions.
The ADJ knob sets a single variable voltage between 1.8V and 10.8V, letting you match odd logic levels or motor ratings without extra regulators. Fixed 3.3V, 5V and 12V rails are always present alongside the adjustable output.
| Type | AT |
|---|
The board draws power from a standard ATX 20/24-pin supply and provides fixed 3.3 V, 5 V and 12 V rails plus an adjustable 1.8 V to 10.8 V rail.
The red PCB measures 99 by 60 mm and ships with an acrylic box kit that encloses the board for bench use.
Plug the ATX 20/24-pin header into the PSU, wire loads to the labelled screw terminals, then set the ADJ knob to the required voltage before powering on.
Juga di rak ini
Rak yang sama, checkout yang sama — lapan koin kripto dan kunci kadar 30 minit.
Apa yang anda hantar untuk membayar, dan mata wang yang anda guna untuk membaca harga.
Dihantar daripada dompet anda semasa semak keluar
Untuk paparan sahaja — katalog diberi harga dalam USD
Tiada mata wang yang sepadan.
Pilih bahasa yang digunakan oleh laman web ini.
Tiada bahasa yang sepadan.
Pengguna baharu?
Sudah mempunyai akaun?
Tiada set semula automatik: kedai ini tidak menghantar sebarang e-mel, jadi tiada pautan sekali guna untuk diminta. Biarkan alamat pada akaun tersebut, ia akan diuruskan secara manual.
Permintaan direkodkan
Tiada apa-apa akan sampai ke peti masuk anda — kedai ini tidak menghantar sebarang e-mel. Seseorang akan menguruskannya secara manual.
Sudah teringat?