SanDisk
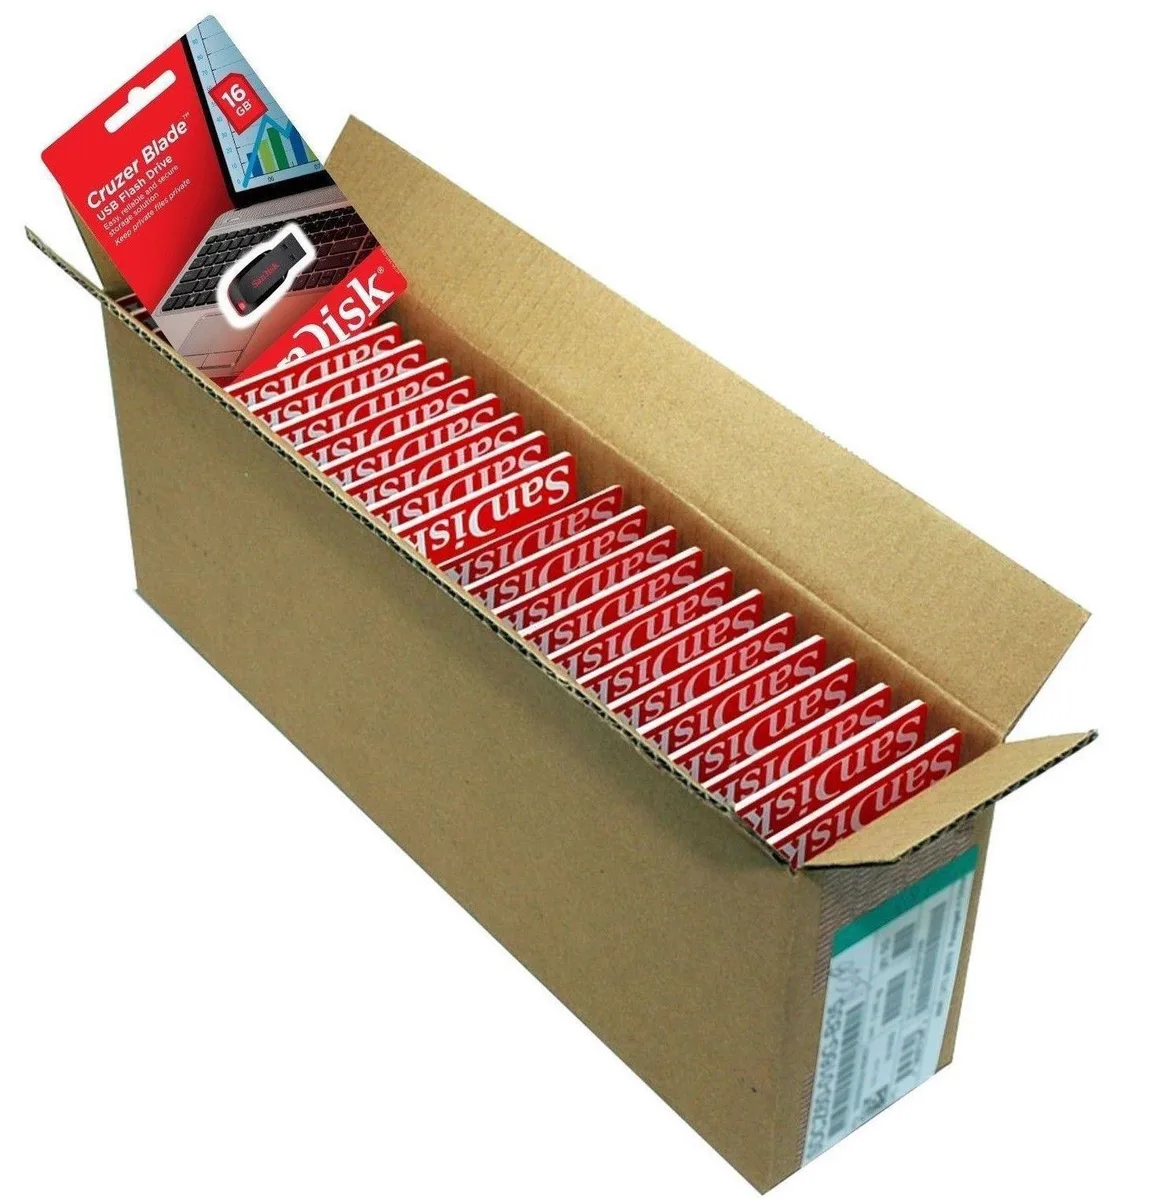
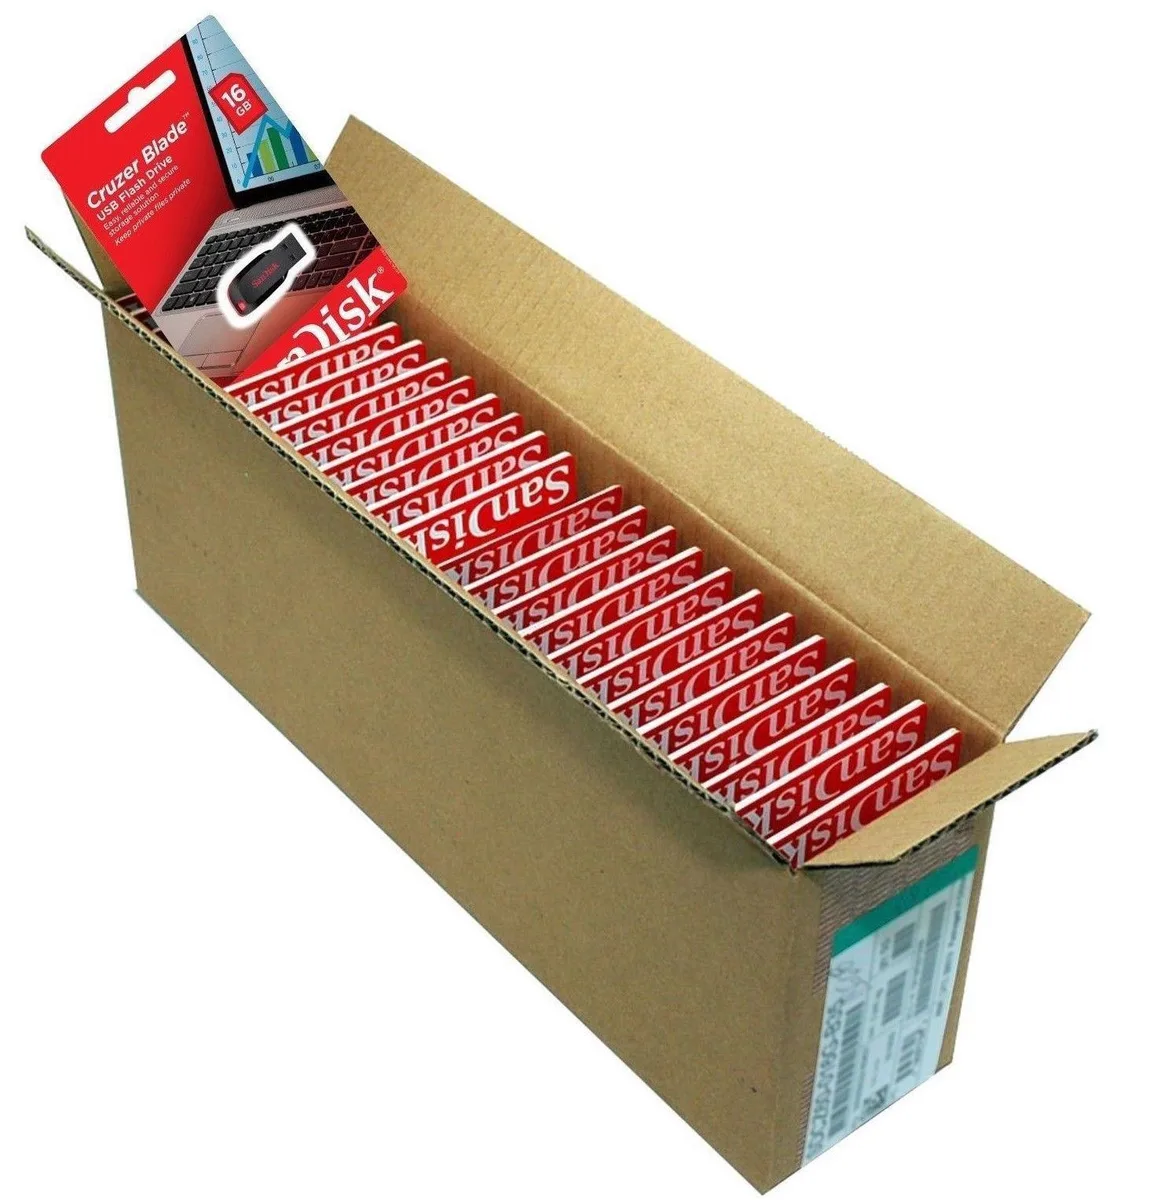
SanDisk Cruzer Blade 8 GB USB 2.0 USB flash drive Black SDCZ50-008G-B35
USD 391.99
0.00501542BTC
Ada stokKami menerima kripto — jadi koin yang anda simpan boleh membeli perkakasan sebenar.Bayar dengan kripto, belanjakannya untuk perkakasan sebenar. Penghantaran berinsurans percuma ke seluruh dunia untuk belian melebihi USD 399. Kotak biasa tanpa jenama, dihantar dari Jerman.Penghantaran berinsurans percuma untuk belian melebihi USD 399. Kadar anda dikunci selama 30 minit sebaik sahaja proses pesanan bermula.Kadar dikunci selama 30 minit. Setiap item disegel, nombor sirinya disemak, dan dilindungi waranti 24 bulan.Disegel, waranti 24 bulan.
KHACHIMO
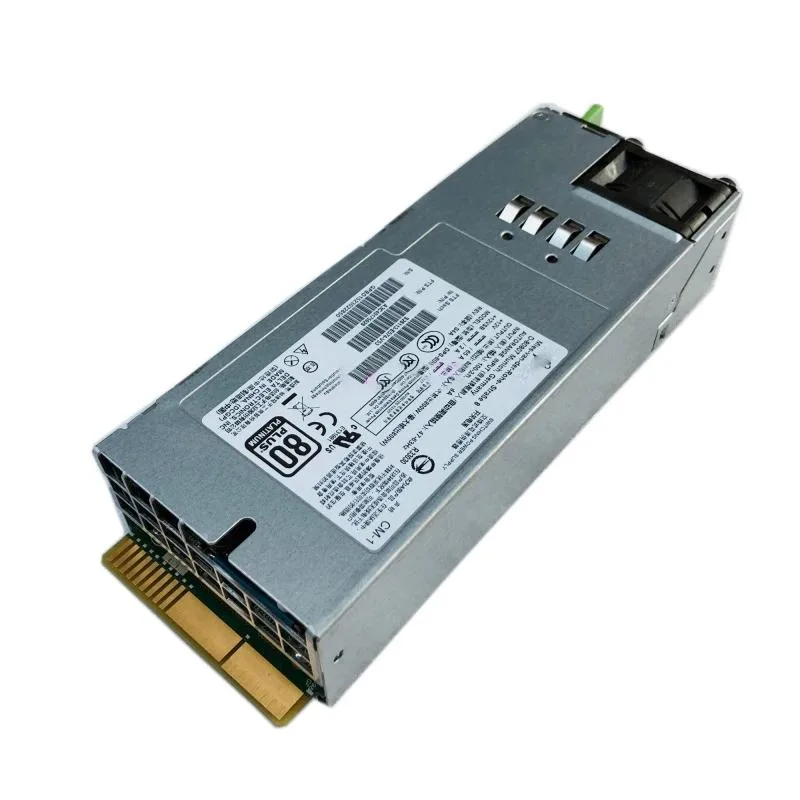
An 800 W ATX power supply tested working and built with good quality components
This KHACHIMO ATX power supply delivers 800W for desktop builds that need reliable mains conversion. It suits system integrators and hobbyists assembling workstations or gaming rigs where steady output matters.
Each unit is test working before dispatch, confirming basic function and voltage stability. The ATX form factor and native connector set fit mainstream cases and motherboards without adapters or cable mods.
Swapping in this 800W model restores power to systems that lost a supply or outgrew a lower-wattage predecessor. The jump is worth it when the old unit cannot sustain the components already installed.
| Type | ATX |
|---|
The unit follows the ATX form factor, which caps its physical dimensions and mounting-hole pattern to the industry-standard ATX layout so it fits regular ATX cases.
It requires a standard ATX power-supply bay with four rear mounting holes and enough internal depth for a typical ATX-length chassis.
Slide the unit into the case, secure it with four screws through the rear flange, then connect the 24-pin ATX, CPU and peripheral cables; the step often missed is fully seating the 24-pin connector until the latch clicks.
Juga di rak ini
Rak yang sama, checkout yang sama — lapan koin kripto dan kunci kadar 30 minit.
Apa yang anda hantar untuk membayar, dan mata wang yang anda guna untuk membaca harga.
Dihantar daripada dompet anda semasa semak keluar
Untuk paparan sahaja — katalog diberi harga dalam USD
Tiada mata wang yang sepadan.
Pilih bahasa yang digunakan oleh laman web ini.
Tiada bahasa yang sepadan.
Pengguna baharu?
Sudah mempunyai akaun?
Tiada set semula automatik: kedai ini tidak menghantar sebarang e-mel, jadi tiada pautan sekali guna untuk diminta. Biarkan alamat pada akaun tersebut, ia akan diuruskan secara manual.
Permintaan direkodkan
Tiada apa-apa akan sampai ke peti masuk anda — kedai ini tidak menghantar sebarang e-mel. Seseorang akan menguruskannya secara manual.
Sudah teringat?