SanDisk
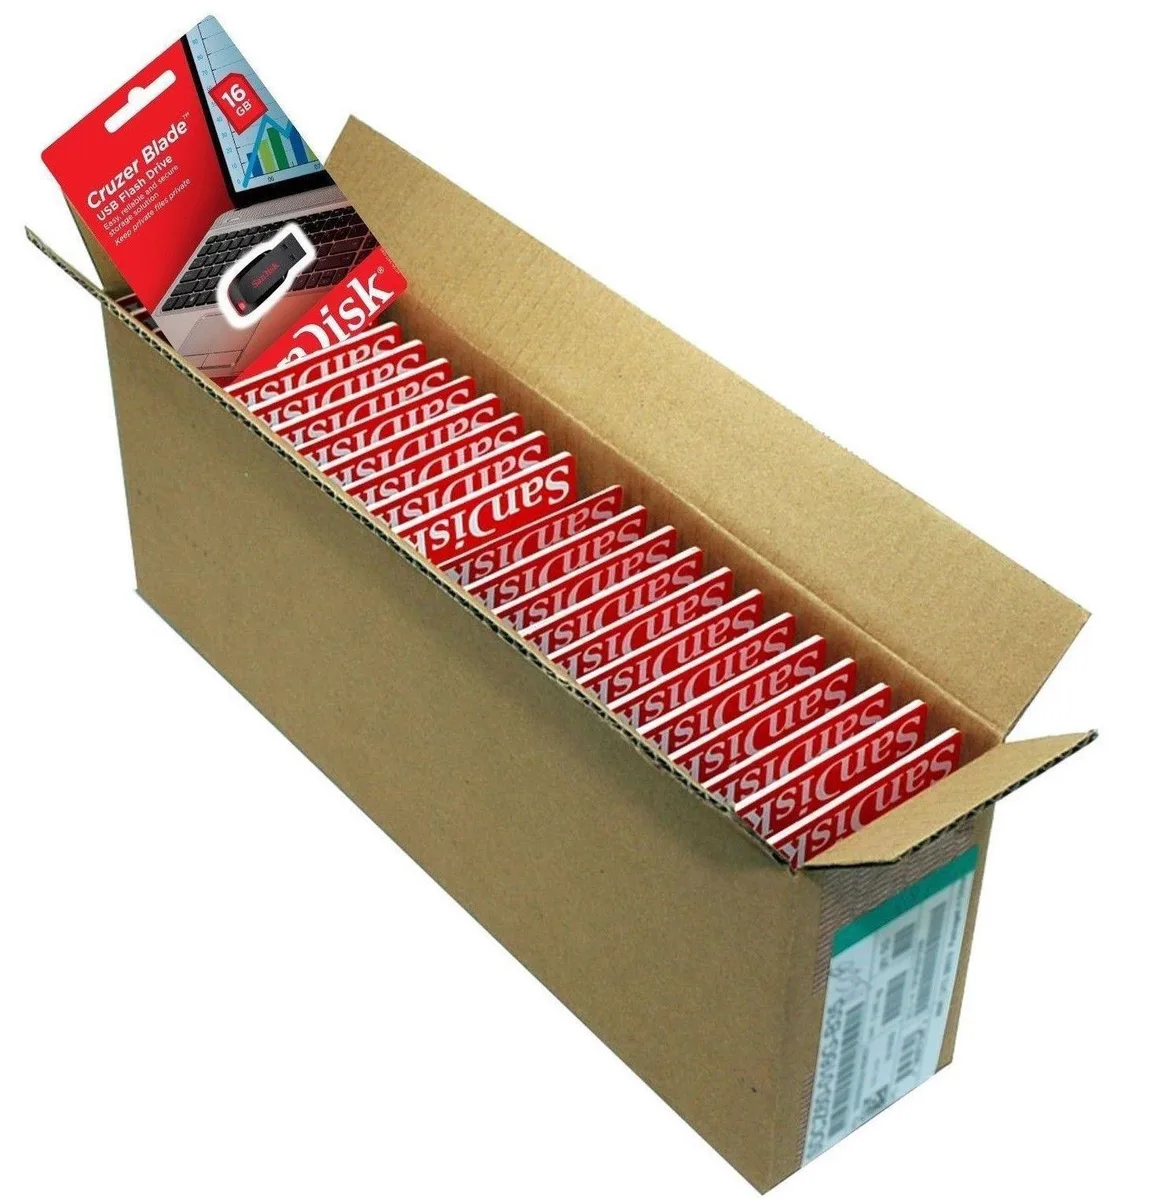
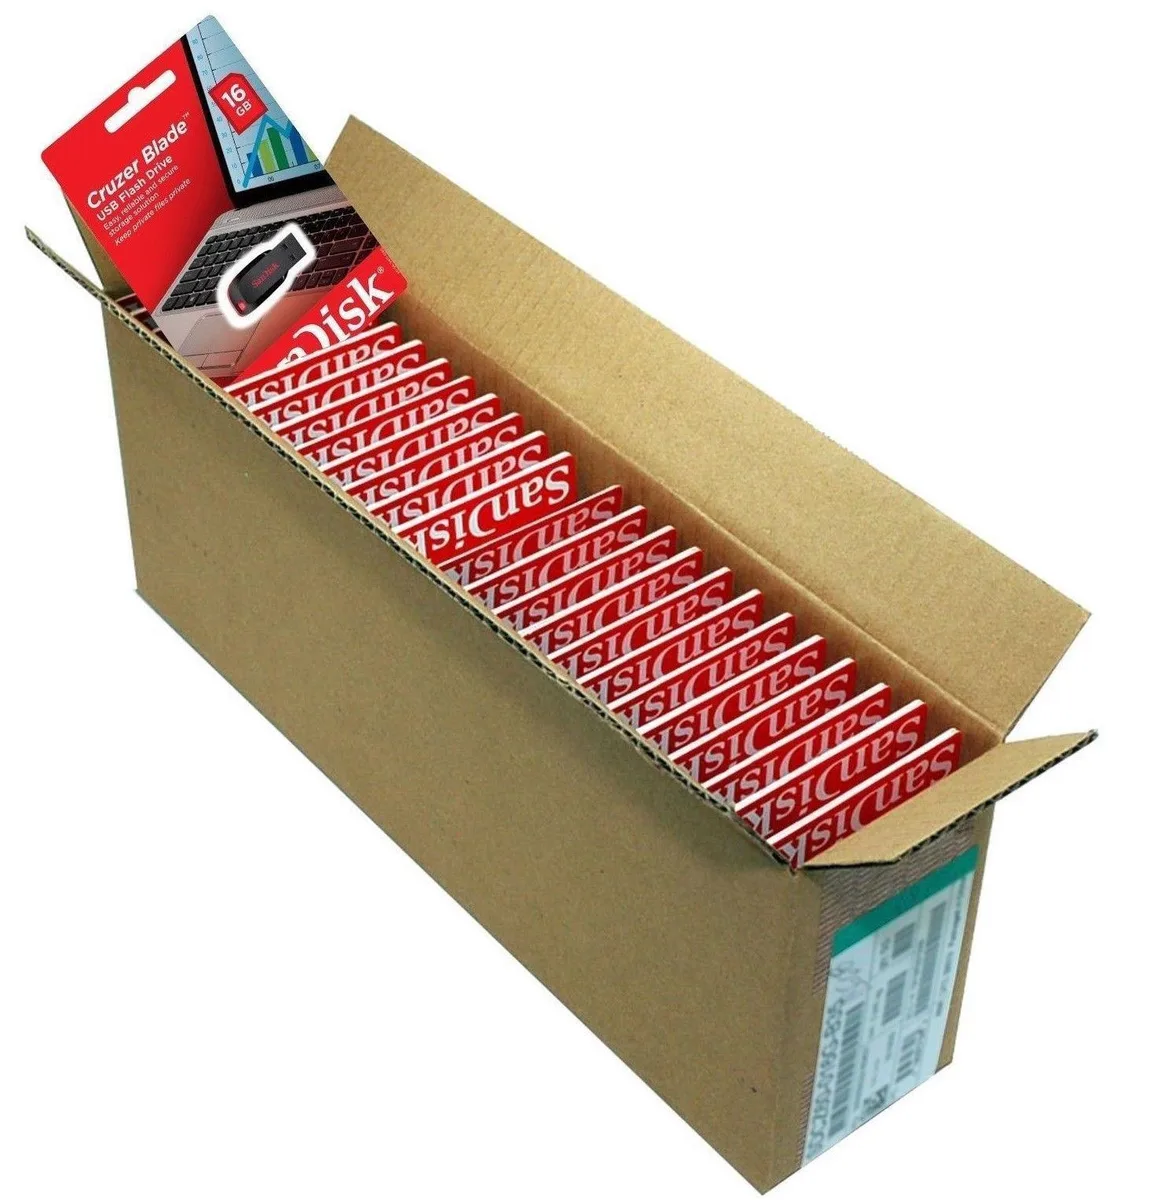
SanDisk Cruzer Blade 8 GB USB 2.0 USB flash drive Black SDCZ50-008G-B35
US$391.99
0.00502422BTC
มีสินค้าเรารับชำระด้วยคริปโต — เหรียญที่คุณถืออยู่จึงนำมาซื้อฮาร์ดแวร์ของจริงได้จ่ายด้วยคริปโต แล้วนำไปซื้อฮาร์ดแวร์ของจริง จัดส่งฟรีพร้อมประกันภัยทั่วโลก เมื่อสั่งซื้อเกิน US$399 กล่องพัสดุเรียบไม่มีตราสินค้า จัดส่งจากประเทศเยอรมนีจัดส่งฟรีพร้อมประกันภัย เมื่อสั่งซื้อเกิน US$399 อัตราแลกเปลี่ยนของคุณจะถูกล็อกไว้ 30 นาที ทันทีที่เปิดหน้าชำระเงินล็อกอัตราแลกเปลี่ยน 30 นาที สินค้าทุกชิ้นปิดผนึกจากโรงงาน ตรวจสอบหมายเลขซีเรียล และรับประกัน 24 เดือนปิดผนึกจากโรงงาน รับประกัน 24 เดือน


ASUS
Micro-ATX board with LGA 1150 socket and B85 chipset supporting 16 GB DDR3
The ASUS B85M-F PLUS is an Intel B85 motherboard built for the LGA 1150 socket. It supports up to 16GB of DDR3 memory in a Micro ATX layout. This board suits builders assembling a replacement system or upgrading an existing platform that uses this generation of components.
It fits users who need a direct swap for a failed LGA 1150 board and who can work with DDR3 memory limited to 16GB. Buyers who want more storage interfaces than basic SATA, or who need a newer socket for current processors, should look at a different platform.
The LGA 1150 socket defines CPU compatibility and locks the board to that processor generation. The 16GB DDR3 ceiling fixes the maximum memory capacity. If your processor or memory requirement falls outside those two limits, this motherboard will not work for the build.
| Brand | ASUS |
|---|---|
| Model | ASUS B85M-F PLUS |
| CPU Socket Type | LGA 1150 |
| Chipset | Intel B85 |
| Maximum Memory Supported | 16GB |
The B85 chipset supports up to 16GB of DDR3 memory and provides standard SATA connectivity for storage devices.
The Micro ATX form factor fits standard mounting points in compatible cases with the included I/O back panel.
Mount the board using Micro ATX standoffs, connect the 24-pin and CPU power cables, then install the supplied I/O shield before securing the board.
อื่น ๆ ในหมวดนี้
หมวดเดียวกัน การชำระเงินแบบเดียวกัน — แปดสกุลเงินคริปโตและอัตราแลกเปลี่ยนที่ล็อกไว้ 30 นาที
สิ่งที่คุณใช้ชำระ และสิ่งที่คุณใช้อ่านราคา
ส่งจากกระเป๋าเงินของคุณเมื่อชำระเงิน
แสดงผลเท่านั้น — แคตตาล็อกสินค้าตั้งราคาเป็นดอลลาร์สหรัฐ
ไม่พบสกุลเงินที่ตรงกัน
เลือกภาษาที่ต้องการให้เว็บไซต์แสดงผล
ไม่พบภาษาที่ตรงกัน
ยังไม่เคยใช้งานใช่ไหม
มีบัญชีอยู่แล้วใช่ไหม
ไม่มีการรีเซ็ตแบบอัตโนมัติ ร้านนี้ไม่ส่งอีเมลใด ๆ จึงไม่มีลิงก์ใช้ครั้งเดียวให้ขอ ปล่อยที่อยู่อีเมลนี้ไว้ในบัญชี แล้วเจ้าหน้าที่จะดำเนินการให้ด้วยตนเอง
รับคำขอแล้ว
ไม่มีอะไรถูกส่งไปยังกล่องจดหมายของคุณ — ร้านนี้ไม่ส่งอีเมลใด ๆ เลย มีคนดำเนินการเรื่องนี้ให้ด้วยมือ
นึกออกแล้วใช่ไหม