SanDisk
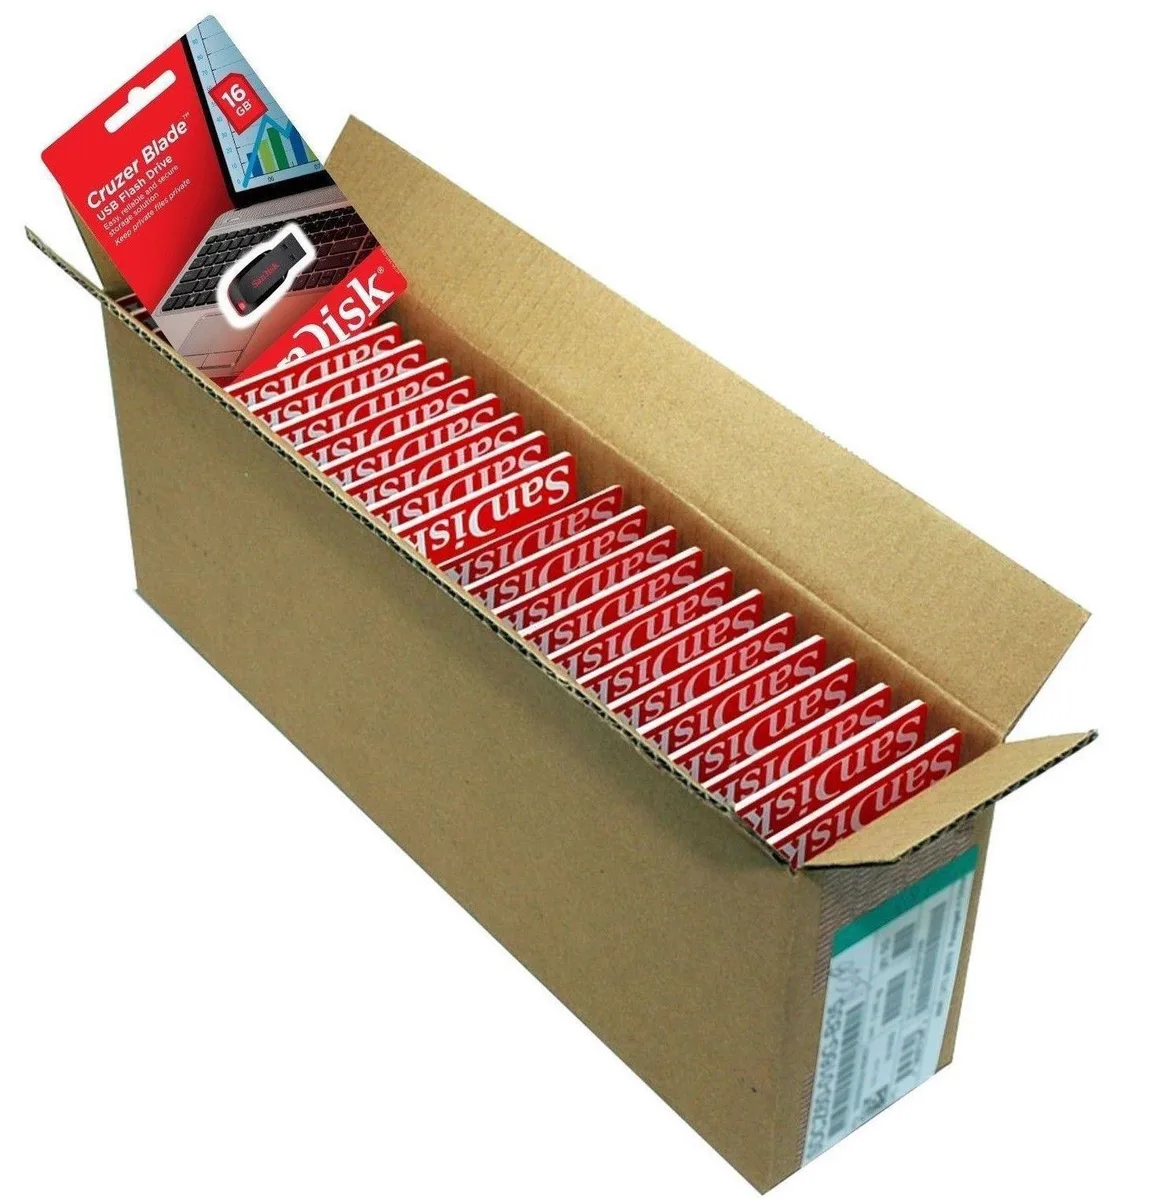
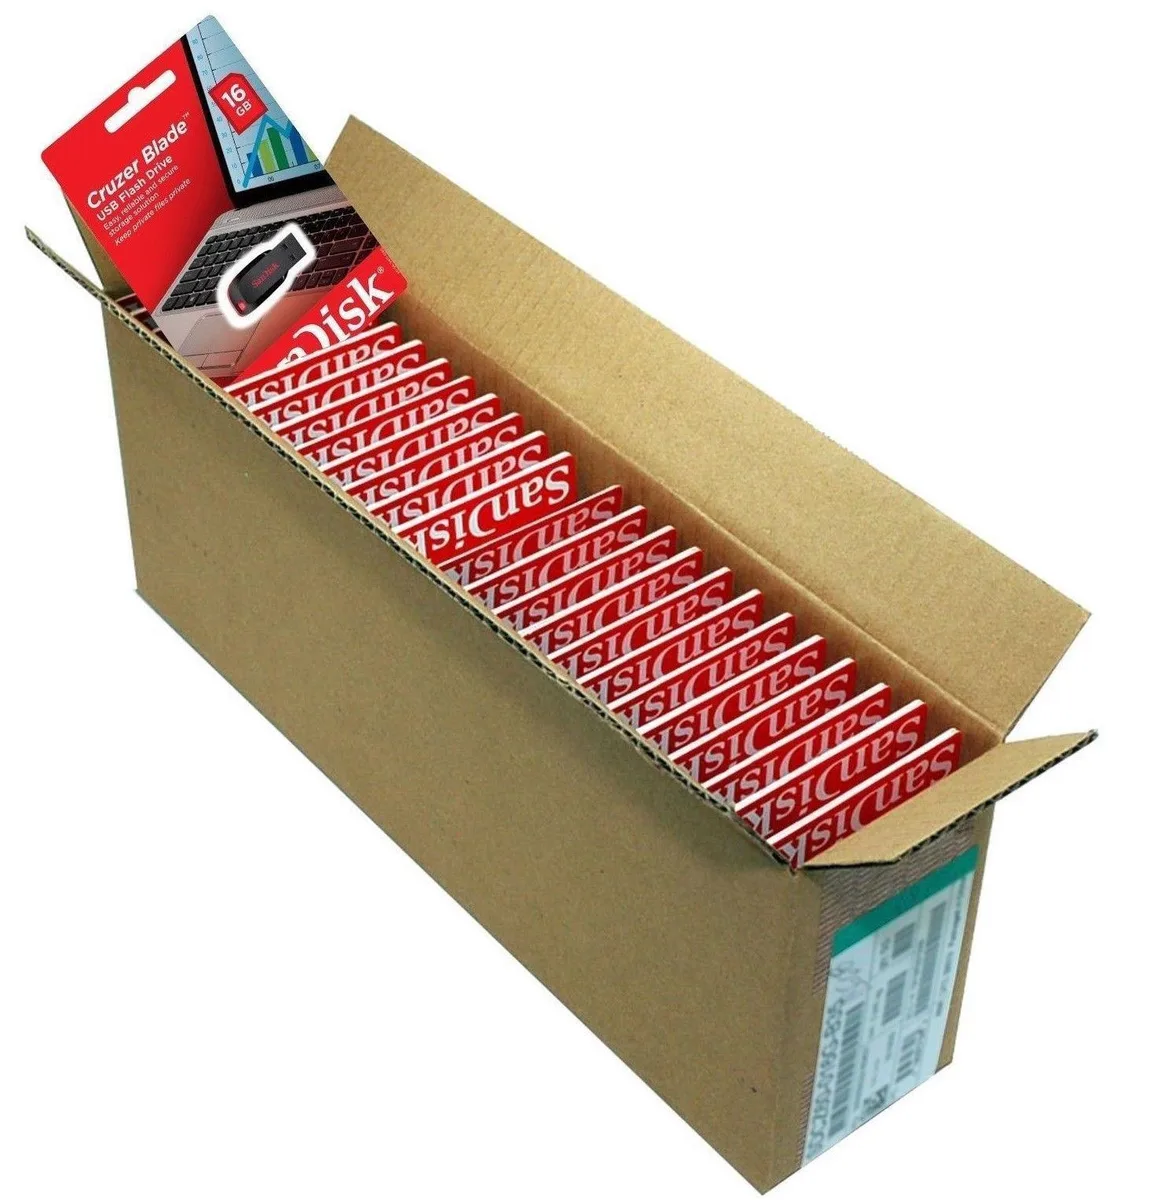
SanDisk Cruzer Blade 8 GB USB 2.0 USB flash drive Black SDCZ50-008G-B35
391.99 US$
0.00501696BTC
متوفرنقبل الدفع بالعملة المشفرة — لذلك يمكن للعملات الرقمية التي تملكها أن تشتري أجهزة حقيقية.ادفع بالعملة المشفرة، وأنفقها على أجهزة حقيقية. شحن مؤمن مجانا إلى كل أنحاء العالم لما يتجاوز 399 US$. صناديق شحن بسيطة بلا علامة تجارية، ترسل من ألمانيا.شحن مؤمن مجانا لما يتجاوز 399 US$. يُقفل سعرك لمدة 30 دقيقة بمجرد فتح صفحة الدفع.السعر مقفل لمدة 30 دقيقة. كل قطعة مختومة، ورقمها التسلسلي متحقق منه، ومشمولة بضمان 24 شهرا.مختوم، وبضمان 24 شهرا.
KHACHIMO
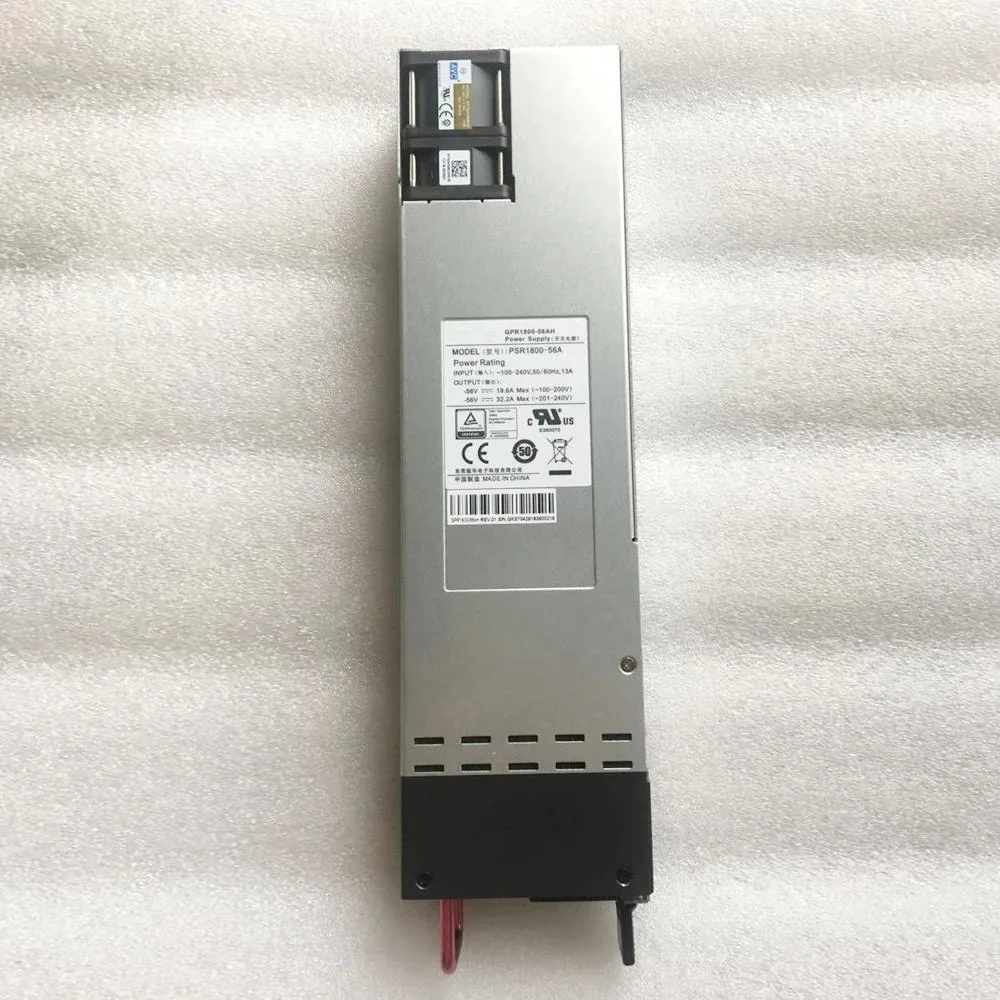
ATX power supply tested working with 1800 W capacity and 56 A on the 5 V rail
The KHACHIMO PSR1800-56A is an ATX power supply intended as a direct replacement for the GPR-1800-56AH unit. It suits technicians or system integrators who need a tested, working module to restore power to a compatible chassis.
Each unit is test-worked before dispatch, confirming basic electrical function and build quality. The ATX form factor and connector layout match the original GPR-1800-56AH, so cable routing and mounting points align with the existing case without modification.
The 1800 W rating and 56 A rail define the practical power ceiling for the connected hardware. Systems demanding sustained draw beyond these figures will exceed the design envelope, and the ATX interface itself cannot deliver higher current without a different platform.
| Type | ATX |
|---|
The unit is an ATX-type supply rated for 1800 W, so it conforms to the ATX form factor and delivers up to 1800 watts.
It uses the standard ATX footprint with four rear mounting holes and requires a case that accepts full-size ATX power supplies.
Slide the unit into the case, secure it with four screws, then connect the 24-pin motherboard cable, CPU power cable and any GPU or drive cables — forgetting the CPU power connector is the most common oversight.
أيضًا في هذا القسم
نفس القسم، ونفس صفحة الدفع — ثماني عملات رقمية وقفل سعر لمدة 30 دقيقة.
ما تدفعه، وما تُعرض به الأسعار.
يُرسَل من محفظتك عند إتمام الطلب
للعرض فقط — أسعار الكتالوج بالدولار الأمريكي
لا توجد عملة مطابقة.
اختر اللغة التي يخاطبك بها الموقع.
لا توجد لغة مطابقة.
هل أنت جديد هنا؟
لديك حساب بالفعل؟
لا توجد إعادة تعيين تلقائية: هذا المتجر لا يُرسل أي بريد، فلا يوجد رابط لمرة واحدة يمكن طلبه. اترك العنوان في الحساب، وسيُعالَج الأمر يدويًا.
تم تسجيل الطلب
لا شيء في طريقه إلى بريدك الوارد — هذا المتجر لا يُرسل أي بريد إطلاقًا. يتولّى أحدهم معالجة هذه الطلبات يدويًا.
تذكّرتها؟