SanDisk
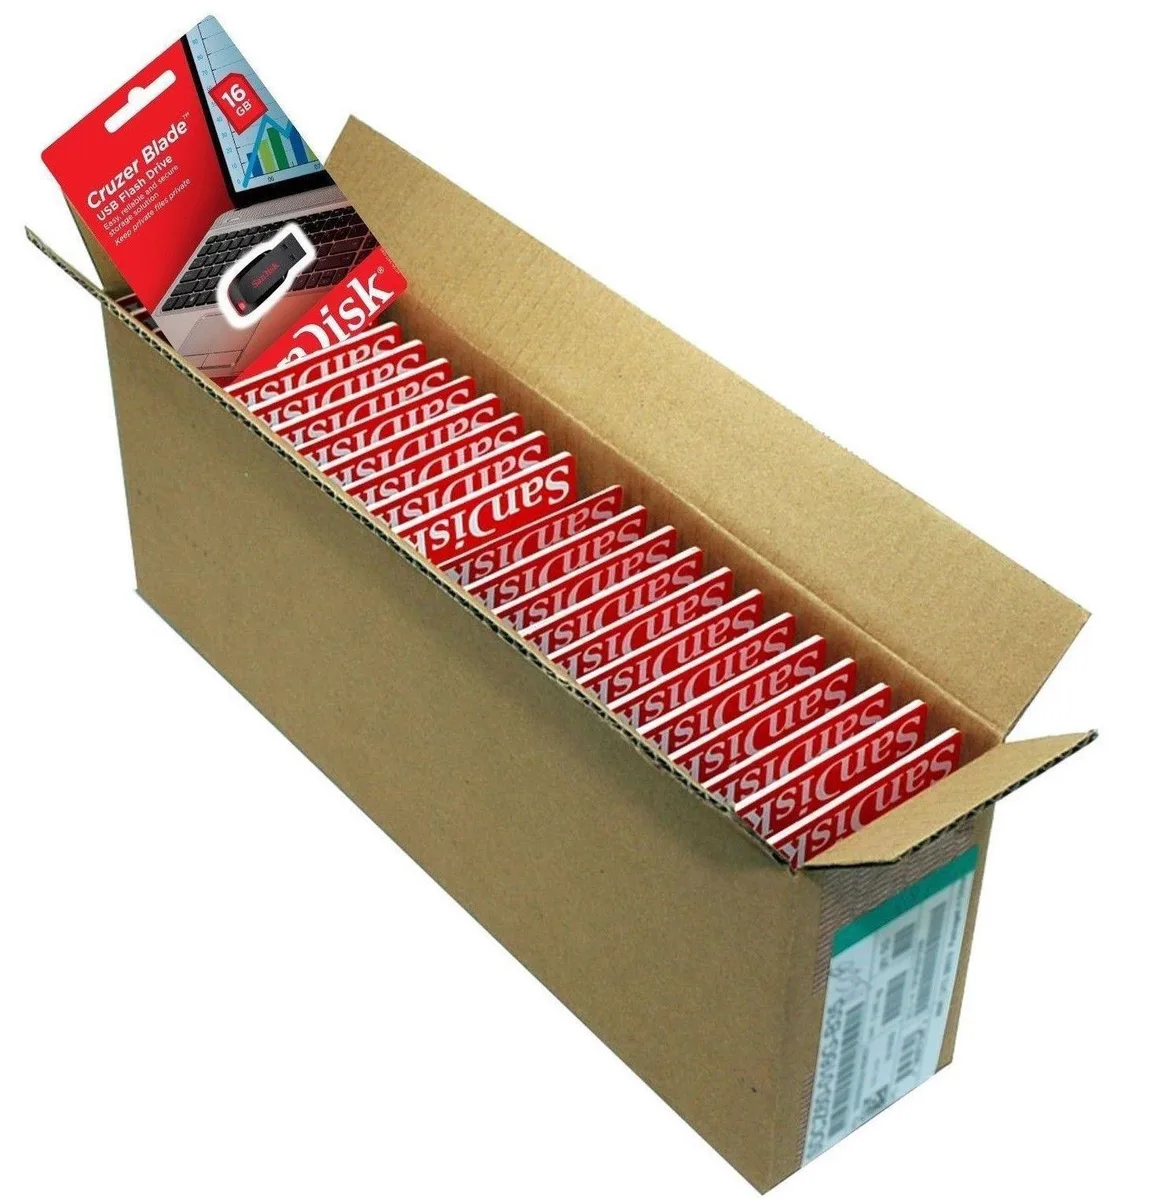
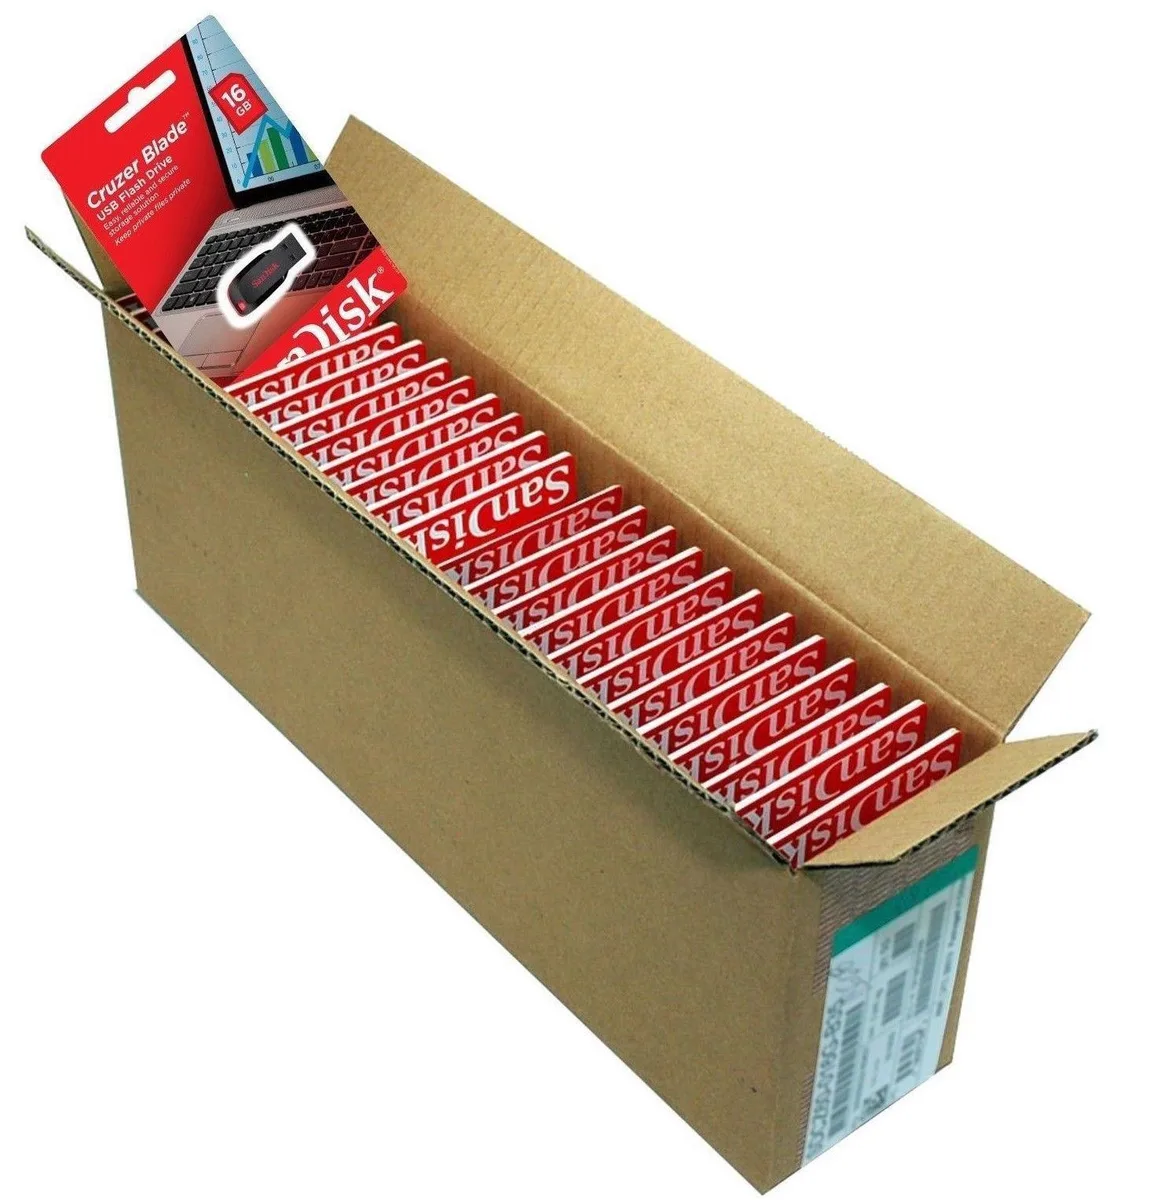
SanDisk Cruzer Blade 8 GB USB 2.0 USB flash drive Black SDCZ50-008G-B35
391.99 US$
0.00502448BTC
متوفرنقبل الدفع بالعملة المشفرة — لذلك يمكن للعملات الرقمية التي تملكها أن تشتري أجهزة حقيقية.ادفع بالعملة المشفرة، وأنفقها على أجهزة حقيقية. شحن مؤمن مجانا إلى كل أنحاء العالم لما يتجاوز 399 US$. صناديق شحن بسيطة بلا علامة تجارية، ترسل من ألمانيا.شحن مؤمن مجانا لما يتجاوز 399 US$. يُقفل سعرك لمدة 30 دقيقة بمجرد فتح صفحة الدفع.السعر مقفل لمدة 30 دقيقة. كل قطعة مختومة، ورقمها التسلسلي متحقق منه، ومشمولة بضمان 24 شهرا.مختوم، وبضمان 24 شهرا.


ASUS
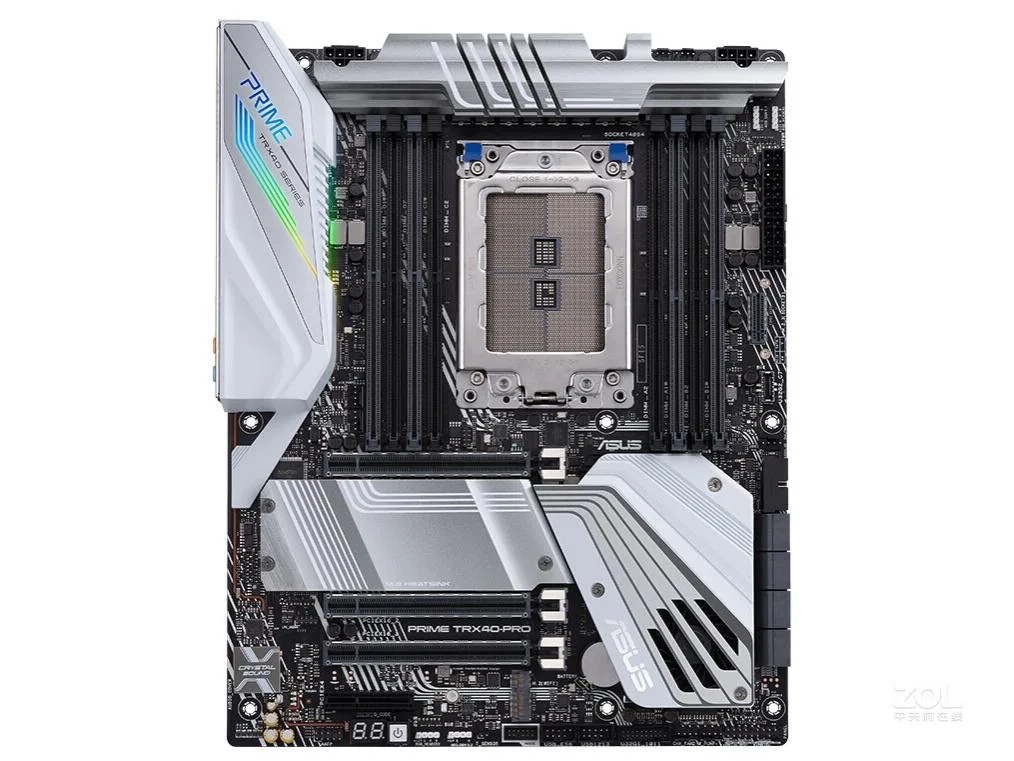
ATX AMD TRX40 motherboard with sTRX4 socket supporting up to 256GB DDR4 memory
The ASUS PRIME TRX40-PRO is an ATX motherboard built around the AMD TRX40 chipset. It supports DDR4 memory up to 256GB total capacity. The board uses the sTRX4 socket for compatible AMD processors.
This motherboard fits users who need an ATX form factor with the AMD TRX40 chipset and support for large DDR4 memory configurations. Builders requiring a different chipset, a smaller form factor, or a different memory generation should consider other options.
The single specification that determines suitability is the 256GB maximum memory limit on DDR4. If your workload demands more memory than this ceiling allows, this board will not meet the requirement.
| Brand | ASUS |
|---|---|
| Series | ASUS PRIME TRX40-PRO |
| Model | ASUS PRIME TRX40-PRO |
| CPU Socket Type | Socket AM2 |
| Chipset | AMD TRX40 |
| Maximum Memory Supported | 256GB |
The TRX40 chipset caps maximum memory at 256GB of DDR4 and provides the platform interface for Socket sTRX4 processors.
The board follows the ATX form factor and requires a chassis with matching ATX mounting holes and an I/O shield cut-out.
Install the I/O shield first, mount the board on standoffs using all screw positions, then attach the 1× SATA cable and CMOS battery before powering on.
أيضًا في هذا القسم
نفس القسم، ونفس صفحة الدفع — ثماني عملات رقمية وقفل سعر لمدة 30 دقيقة.
ما تدفعه، وما تُعرض به الأسعار.
يُرسَل من محفظتك عند إتمام الطلب
للعرض فقط — أسعار الكتالوج بالدولار الأمريكي
لا توجد عملة مطابقة.
اختر اللغة التي يخاطبك بها الموقع.
لا توجد لغة مطابقة.
هل أنت جديد هنا؟
لديك حساب بالفعل؟
لا توجد إعادة تعيين تلقائية: هذا المتجر لا يُرسل أي بريد، فلا يوجد رابط لمرة واحدة يمكن طلبه. اترك العنوان في الحساب، وسيُعالَج الأمر يدويًا.
تم تسجيل الطلب
لا شيء في طريقه إلى بريدك الوارد — هذا المتجر لا يُرسل أي بريد إطلاقًا. يتولّى أحدهم معالجة هذه الطلبات يدويًا.
تذكّرتها؟