EN-Labs
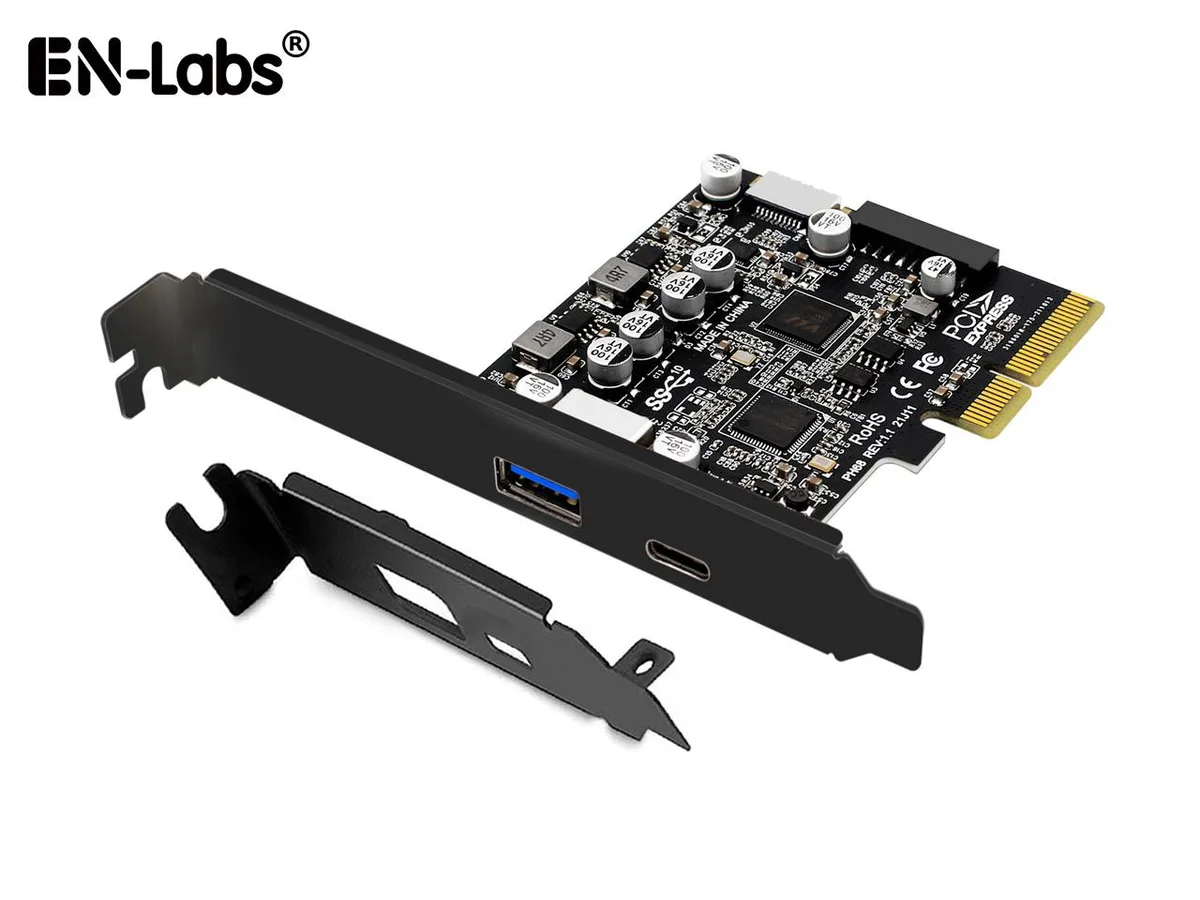
EN-Labs 11-001-366 PCIe x4 USB 3.2 10Gbps 5-port card
- no
- 12CM Case fan,screw…
US$31.99
0.00041091BTC
現貨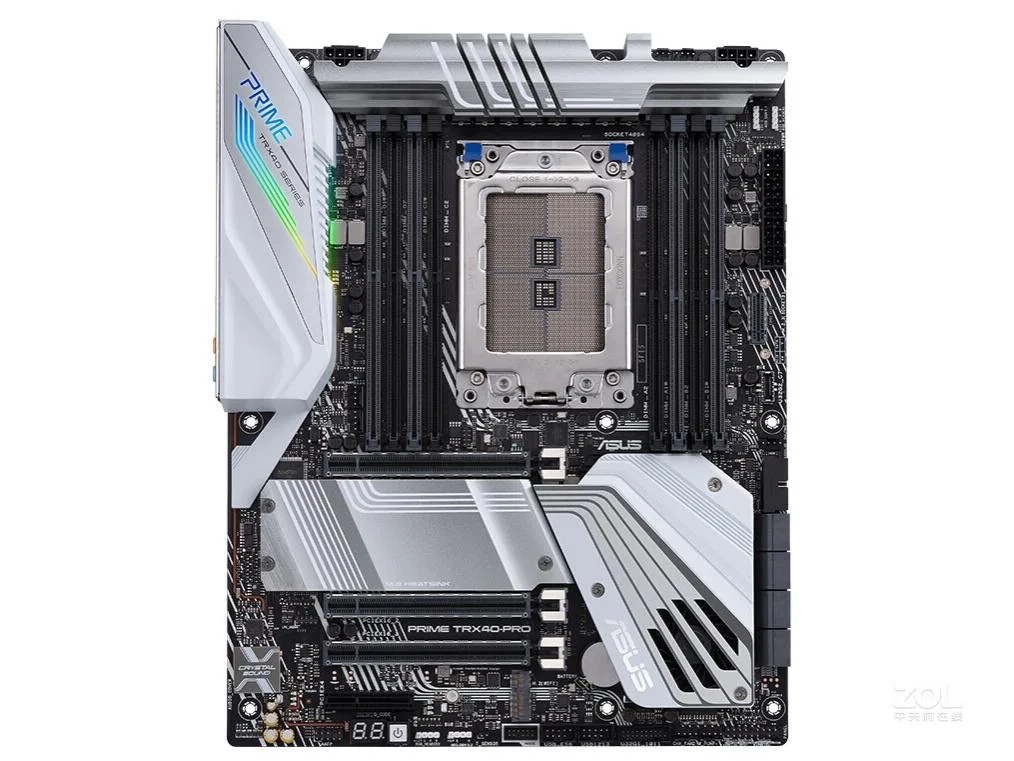


ASUS
ATX AMD TRX40 motherboard with sTRX4 socket supporting up to 256GB DDR4 memory
The ASUS PRIME TRX40-PRO is an ATX motherboard built around the AMD TRX40 chipset. It supports DDR4 memory up to 256GB total capacity. The board uses the sTRX4 socket for compatible AMD processors.
This motherboard fits users who need an ATX form factor with the AMD TRX40 chipset and support for large DDR4 memory configurations. Builders requiring a different chipset, a smaller form factor, or a different memory generation should consider other options.
The single specification that determines suitability is the 256GB maximum memory limit on DDR4. If your workload demands more memory than this ceiling allows, this board will not meet the requirement.
| Brand | ASUS |
|---|---|
| Series | ASUS PRIME TRX40-PRO |
| Model | ASUS PRIME TRX40-PRO |
| CPU Socket Type | Socket AM2 |
| Chipset | AMD TRX40 |
| Maximum Memory Supported | 256GB |
The TRX40 chipset caps maximum memory at 256GB of DDR4 and provides the platform interface for Socket sTRX4 processors.
The board follows the ATX form factor and requires a chassis with matching ATX mounting holes and an I/O shield cut-out.
Install the I/O shield first, mount the board on standoffs using all screw positions, then attach the 1× SATA cable and CMOS battery before powering on.
同類商品
同一分類,同一套結帳流程 — 支援八種加密貨幣,匯率鎖定 30 分鐘。
您支付所用的幣種,以及查看價格所用的貨幣。
結帳時由您的錢包發送
僅供顯示 — 商品目錄以美元計價
查無符合的貨幣。
請選擇網站使用的語言。
No language matches that.
初次造訪?
已經有帳戶了嗎?
本店沒有自動重設密碼的機制:由於不寄送電子郵件,也就沒有一次性連結可供申請。只要將地址留在帳戶中,之後將由專人處理。
請求已收到
不會有任何郵件寄到您的信箱 — 本商店完全不寄送電子郵件。會有人親自處理這些申請。
想起來了嗎?